
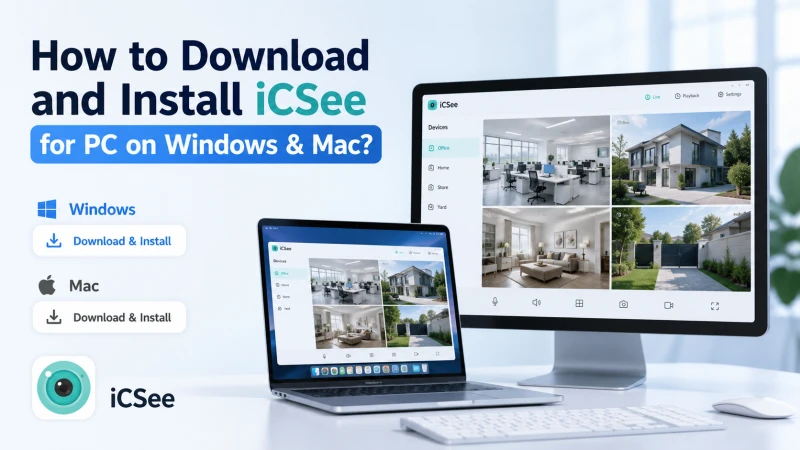


Installing a security camera app on a computer can provide a larger screen experience and make it easier to monitor your devices. However, many users are unsure how to download and set up iCSee for PC, especially when using different operating systems.
This guide is designed to help you easily install iCSee for PC on both Windows and Mac computers. We will explain the required tools, installation methods, emulator setup, and basic configuration steps.
Whether you want to view your cameras on a desktop, manage multiple devices, or enjoy a more convenient monitoring experience, this article provides a simple step-by-step solution to help you get iCSee running smoothly on your computer.
What Is iCSee and Why Use It on a Computer?
iCSee is a generic-brand surveillance app that connects to IP cameras, DVRs, and NVRs over a local network or the internet using P2P (peer-to-peer) connection technology. P2P lets the app reach a camera directly using a unique device ID, even when the camera sits behind a router without port forwarding configured.
Users typically run iCSee for PC for three practical reasons:
- Larger viewing area: A monitor shows multi-camera grids far more clearly than a phone screen.
- Extended monitoring sessions: Desktop use avoids draining a mobile device’s battery during long viewing periods.
- Easier recording review: Scrubbing through playback footage with a mouse is faster than touch controls.
The app is commonly bundled with budget and mid-range security camera kits sold under various OEM (original equipment manufacturer) labels, which is why many users search for a PC version after buying a camera that only ships with mobile app instructions.
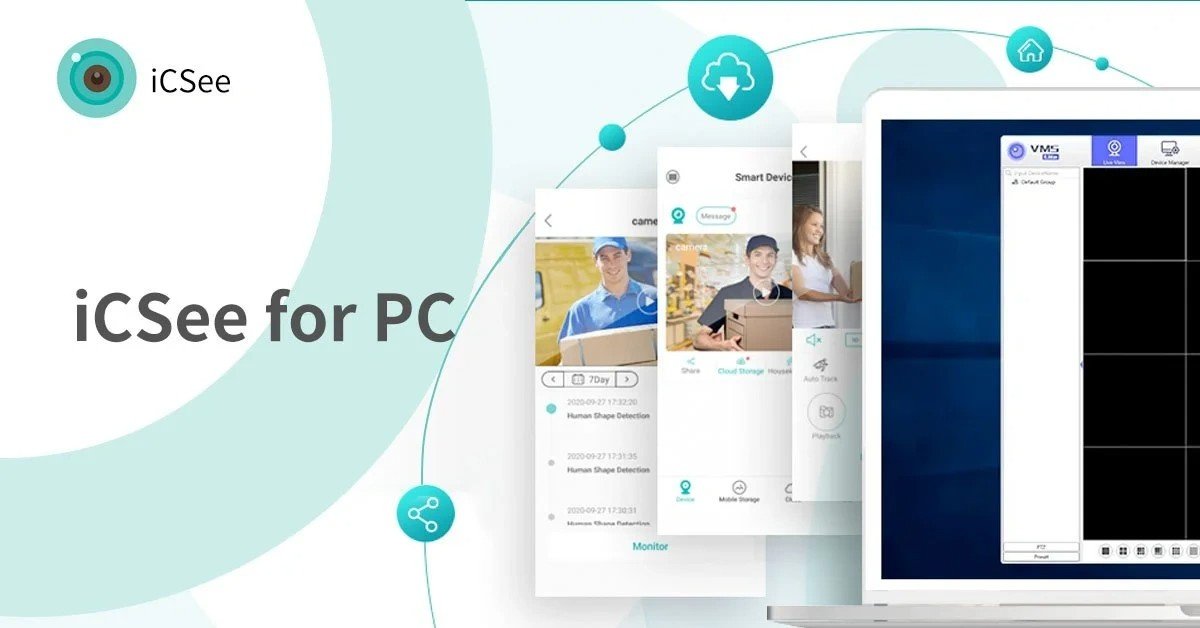
Can You Install iCSee for PC Directly?
No, iCSee cannot be installed directly on Windows or Mac because the developer has not released a native desktop build. The .exe or .dmg files sometimes advertised as “official iCSee for PC downloads” on third-party sites are not verified by the app’s developer and carry a real risk of bundled malware.
The safe and functional workaround is an Android emulator: software that virtualizes the Android operating system so unmodified Android apps, including iCSee, can run on a desktop computer. This is the same method used for most mobile-only security camera apps, including Hik-Connect and similar surveillance clients, since none of them maintain separate desktop codebases.
Two emulators cover the vast majority of successful iCSee for PC installations:
- BlueStacks: Available for both Windows and Mac, widely used, frequently updated.
- NoxPlayer: Lightweight alternative, popular for lower-spec machines and for Mac users who need more granular performance settings.
How to Download and Install iCSee for PC on Windows?
Installing iCSee for PC on Windows takes about 10 to 15 minutes and requires downloading BlueStacks first, then installing iCSee inside it through the built-in app store. The process does not require any technical background beyond following the on-screen prompts.
Step-by-Step Installation via BlueStacks (Windows)
- Go to the official BlueStacks website and download the Windows installer.
- Run the installer and follow the setup wizard. Ensure your system meets the minimum requirement of 4GB RAM and hardware virtualization enabled in BIOS.
- Launch BlueStacks once installation completes and sign in with a Google account (required to access the Play Store inside the emulator).
- Open the Play Store icon within BlueStacks and search for “iCSee.”
- Select the official iCSee app from the search results and click Install.
- Once installed, launch iCSee from the BlueStacks home screen or app drawer.
If the Play Store fails to load on first launch, restart BlueStacks once. This resolves the sync issue in most cases without needing a reinstall.
How to Install iCSee for PC on Mac?
Installing iCSee for PC on Mac follows the same logic as Windows but uses a Mac-compatible emulator build, since standard Windows .exe installers will not run on macOS. Both BlueStacks and NoxPlayer offer dedicated Mac versions.
Step-by-Step Installation via BlueStacks or NoxPlayer (Mac)
- Download the Mac version of BlueStacks or NoxPlayer from the developer’s official site (never a third-party mirror).
- Open the downloaded .dmg file and drag the application into the Applications folder.
- If macOS blocks the app due to Gatekeeper security settings, go to System Settings > Privacy & Security and approve the app manually.
- Launch the emulator and complete the initial Google account sign-in.
- Open the Play Store within the emulator and search for “iCSee.”
- Install the app, then open it from the emulator’s home screen.
Mac users on Apple Silicon (M1/M2/M3 chips) should confirm the emulator version explicitly supports Apple Silicon before installing, since Intel-only builds run poorly through Rosetta translation and can cause frequent crashes.
How to Set Up and Add a Camera in iCSee for PC?
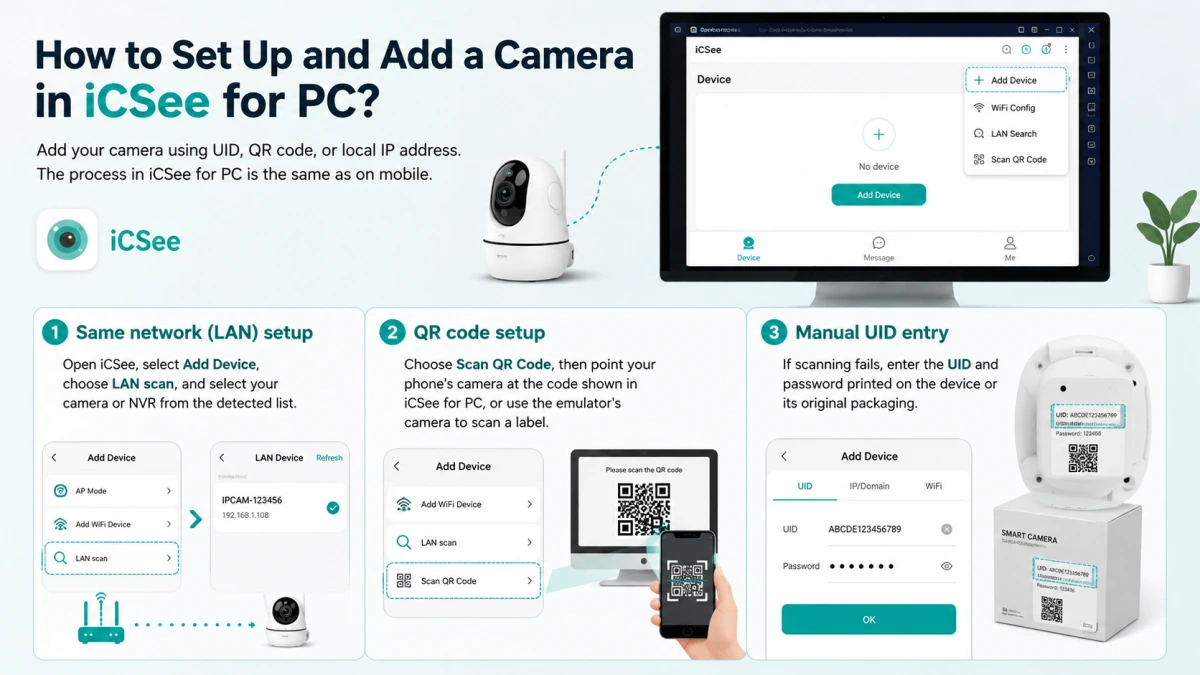
Once iCSee for PC is installed, adding a camera requires the same identifying information used on mobile: the device’s UID (unique identifier), a scannable QR code, or its local IP address. The app itself behaves identically inside the emulator since it is the unmodified Android build.
- Same network (LAN) setup: Open iCSee, select Add Device, choose LAN scan, and select your camera or NVR from the detected list.
- QR code setup: Choose Scan QR Code, then point your phone’s camera at the code shown in iCSee for PC on your monitor, or use the emulator’s built-in camera feature if scanning from a physical label.
- Manual UID entry: If scanning fails, enter the UID and password printed on the device or its original packaging.
Comparison: Best Android Emulators for Running iCSee on PC
| Emulator | Windows Support | Mac Support | RAM Requirement | Best For |
|---|---|---|---|---|
| BlueStacks | Windows 7/8/10/11 | Yes | 4GB minimum | General use, frequent updates |
| NoxPlayer | Windows 7/8/10/11 | Yes | 2GB minimum | Lower-spec machines |
| LDPlayer | Windows 7/8/10/11 | No | 4GB minimum | Windows-only setups needing multi-instance |
| MEmu | Windows 7/8/10/11 | No | 2GB minimum | Older Windows PCs |
BlueStacks remains the most consistently maintained option across both operating systems, which is why it appears first in most installation walkthroughs for surveillance apps like iCSee.
Common iCSee for PC Installation Problems and Fixes
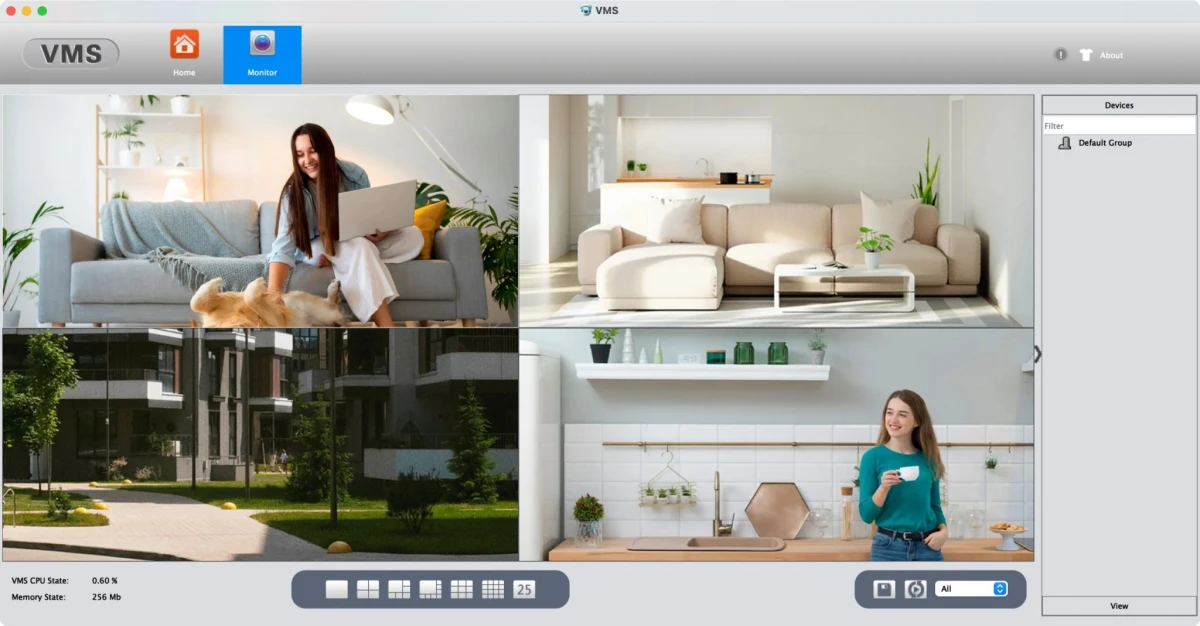
Most iCSee for PC installation failures come from three sources: disabled virtualization, outdated emulator versions, or network configuration conflicts between the emulator and the router. Identifying which category an error falls into resolves the majority of reported issues.
| Problem | Likely Cause | Fix |
|---|---|---|
| Emulator won’t launch | Virtualization disabled in BIOS | Enable Intel VT-x or AMD-V in BIOS settings |
| Play Store missing or frozen | Corrupted Google Play cache | Restart emulator, then clear Play Store cache |
| Camera shows “offline” | P2P connection blocked by firewall | Allow the emulator through Windows Defender or macOS firewall |
| App crashes on open | Incompatible emulator build (Apple Silicon) | Reinstall the ARM-native emulator version |
| LAN scan finds no devices | Emulator on different virtual subnet | Switch network mode from NAT to Bridge |
If problems persist after these fixes, uninstalling and reinstalling both the emulator and the app resolves most remaining edge cases, since a clean install eliminates leftover configuration conflicts.
FAQ About iCSee for PC
Q1. Is there an official iCSee app for Windows or Mac?
No, iCSee does not have an official native application for Windows or Mac. The only supported way to run it on a computer is through an Android emulator such as BlueStacks or NoxPlayer, which lets the unmodified mobile app run on desktop operating systems.
Q2. Which Android emulator works best for installing iCSee for PC?
BlueStacks is the most widely used option because it receives frequent updates and supports both Windows and Mac. NoxPlayer is a solid alternative for lower-spec computers, since it requires less RAM to run smoothly.
Q3. Why does my camera show as offline after installing iCSee for PC?
This usually happens because the emulator’s firewall or network mode is blocking the P2P connection between the app and the camera. Allow the emulator through your system firewall and, if the issue continues, switch the emulator’s network mode from NAT to Bridge.
Q4. Can I use iCSee for PC without creating a Google account?
No, a Google account is required because the app must be downloaded through the Play Store inside the emulator. You can create a free account solely for this purpose if you prefer not to use an existing personal account.
Conclusion
Running iCSee for PC on Windows or Mac is fully possible, but only through an Android emulator since no native desktop version exists. BlueStacks and NoxPlayer both handle the installation reliably, and once the app is running, adding cameras and troubleshooting connection issues works the same way it does on mobile.
If you’re setting this up for the first time, start with BlueStacks on your operating system, confirm virtualization is enabled in your BIOS, and keep your router’s LAN and the emulator’s network mode aligned before adding a device. With that foundation in place, monitoring your cameras from a larger screen becomes a straightforward extension of your existing mobile setup.